Setting up Enrollable Agenda Items
On an agenda item you want to make time slots for, toggle on "Enrollable". Doing this will immediately add a new Enrollable tab to your agenda item. In there, you can add your time slots (sessions). Each time slot has it's own Name, Start time, End time, and Capacity. You can also optionally add a description on the time slot. If none is added, it will take the parent agenda item's description.
If you have multiple parent agenda items with enrollable session, you can see the full list of all enrollable agenda items in the event by going to Agenda > Enrollable Items.
Importing
To import enrollable sessions instead of creating each one manually, go to Data Imports > Create Import > Enrollable Import
Here, you can download a template for the enrollable sessions for the correct column headers and format.
Some descriptions on the columns:
| id |
parent agenda item's ID, so that the system knows which agenda item to make the parent for the enrollable session |
| schedule_item_id |
You only need this column if you are updating existing enrollable sessions. If your import is to create enrollable sessions, delete this column! |
|
name |
name of the enrollable session |
|
start_time end_time |
start and end times for your enrollable sessions |
|
capacity |
the maximum number of attendees that can be enrolled in this session |
|
view_enrolled |
true: attendees will be able to see who is already registered for this session false: (the default) attendees can see how many people are registered, but not be able to see who is registered |
|
notification_text |
please remove this column. notifications for enrollable items are not functioning. |
When your sheet is ready, you can upload it into this drag and drop section.
Limiting Sessions an Attendee can register for
If you want to limit each attendee to only be able to sign up for a certain number of sessions, we can do this by adding agenda tags to the parent agenda items.
Add an agenda tag by going to Agenda > Agenda Settings > Tag Management
Once you've created a tag, click to edit the tag, and in the Enrollable Session Limit field, enter the max number of sessions you want to allow an attendee to register for.
Attendee View: Agenda Flow
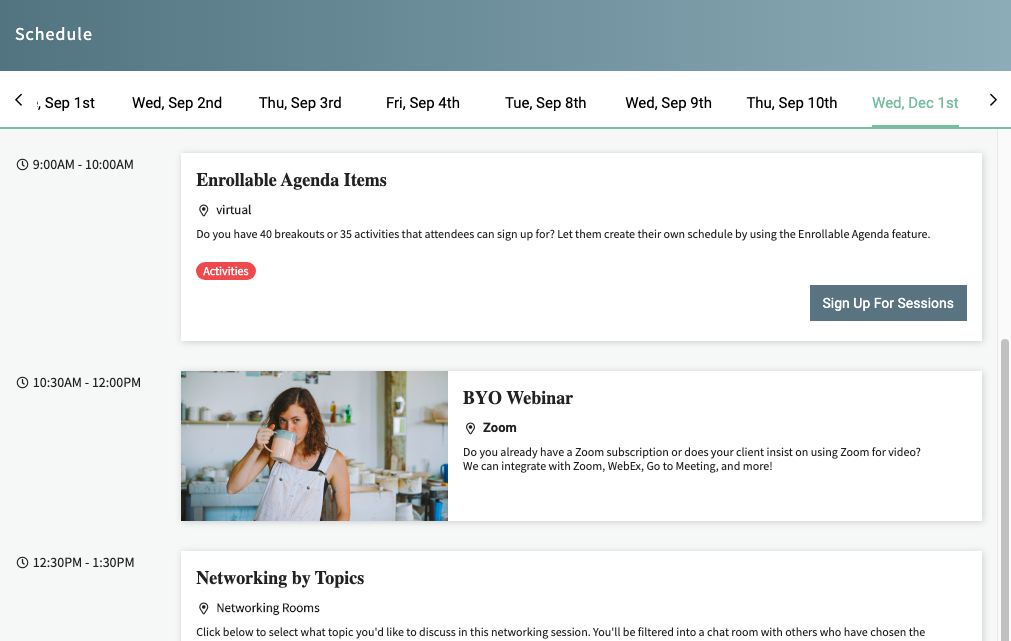
Your parent agenda item still has the same visibility settings available as a normal agenda item. So you can make it publicly visible, or limit its visibility to specific group(s). Either way, any attendee that can see the parent agenda item will automatically have a link to "Sign Up For Sessions" which will take them to a page where they can see all the enrollable sessions under this parent, and register themselves for sessions.

As soon as an attendee signs up for an enrollable session, it will replace the parent agenda item in their agenda. If that parent item had a vmeet room attached to it, unique breakout links will be added to each enrollable session slot so that the attendee goes into different rooms depending on which session they registered for.
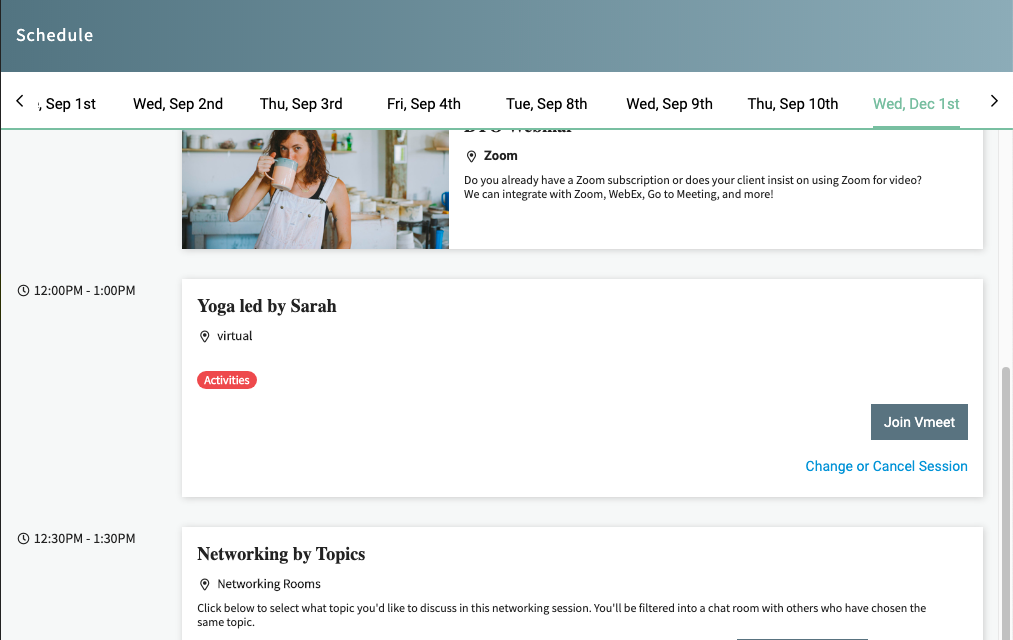
The "Change or Cancel Session" link can be toggled on or off on the Enrollable tab of the agenda edit, depending on whether you want your attendee to be able to edit their session registration status.